
How to Set Up Dual eSIM Profiles: Managing Personal and Work Numbers Seamlessly
10/11/2026
Modern travelers and remote professionals increasingly rely on the flexibility of separating personal and business communications without juggling multiple physical devices. The transition from traditional SIM cards to virtual profiles offers a streamlined approach, but the initial configuration can feel opaque if you have never navigated the interface before. Understanding the prerequisites ensures you avoid frustration later, and knowing which devices support the functionality saves time. This guide walks through every stage of preparing your hardware, activating the profiles, and optimizing the experience for life on the move.
Verify Device Compatibility and Carrier Support
Before diving into menus and settings, confirm that your smartphone actually supports dual eSIM profiles, dual eSIM setup guide. Not every model on the market offers this capability, and even fewer allow two active lines simultaneously without a physical slot. Flagship devices from the last three years typically include the feature, but budget variants may omit it to cut costs. Check the manufacturer’s specifications or consult the settings menu under “Cellular” to see if an option to add a digital profile appears. Equally important is carrier approval; some regional providers restrict the number of virtual lines you can host, and certain travel-focused operators may offer data-only profiles that cannot receive calls or texts. Verify that your subscription plan permits multiple activations, as attempting to proceed with a restricted account will result in error messages.
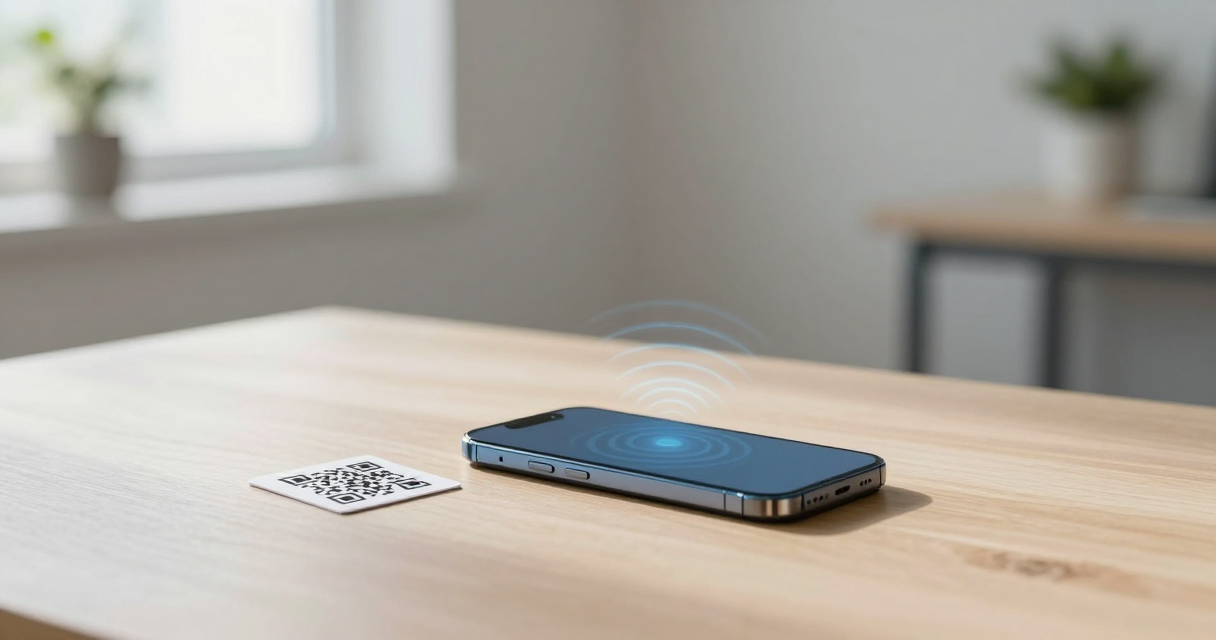
Once compatibility is confirmed, gather the necessary credentials provided by your service providers. Most carriers send a QR code via email or display one in their mobile app, which serves as the primary enrollment token. Having both QR codes ready, one for your personal line and one for work, prevents constant switching between apps during the setup process. If you are switching from a physical card, ensure the old SIM is removed or deactivated first, as some operating systems refuse to provision a new digital profile if a physical one remains active in the tray. This preliminary groundwork lays a smooth path for the subsequent steps.
Initiate the First Profile Activation
With your device and carrier requirements sorted, begin by activating the profile you use most frequently, typically the personal number. Navigate to the cellular settings and select the option to add a new plan. The system will prompt you to scan the QR code; position the code within the viewfinder, and the device will communicate securely with the carrier’s servers. Within moments, a confirmation appears, and the line registers on the network. You may be asked to label the profile, choose a descriptive name such as “Home” or “Personal” to distinguish it later from the second line.
After the first profile is live, test basic functionality by placing a call or sending a text. This step validates that the radio configuration is correct and that the carrier has not imposed any unexpected restrictions. If the call fails or messages do not send, double-check that data roaming is enabled if you are in a different country, as some plans require an explicit toggle. Naming the profile clearly at this stage prevents confusion when you later add the second line, especially if both numbers share similar area codes or carrier names.
Add the Secondary Profile for Work
With the personal line established, proceed to add the secondary profile designated for work responsibilities. Return to the same cellular menu and select the option to add another plan. Scan the second QR code provided by your employer or business carrier. The device will process the activation, and a second line will appear in the list of available profiles. Label this one clearly, such as “Office” or “Work,” so that incoming calls and messages are routed according to your preferences. In many operating systems, you can also assign a default line for iMessage and FaceTime, ensuring that contacts reach you on the correct number without manual selection each time.

It is advisable to immediately set a preferred line for cellular data. By default, the system may default to the first profile activated, which could result in work data consuming your personal data allowance or vice versa. Go into the data options and explicitly select the work profile as the source for internet sharing and app updates. This configuration prevents accidental overages and keeps your professional traffic separate from personal browsing habits. If your carrier supports it, you can also enable voice and SMS routing for the second line, allowing you to receive business texts even when the personal line is active.
Optimize Naming and Labeling for Quick Identification
Effective management of dual profiles hinges on clear visual distinction. Operating systems allow you to assign custom labels and even distinguishable colors next to each line in the status bar. Take a few minutes to rename the profiles using terms that matter to your daily routine. For instance, label one as “Personal” and the other as “Business.” This simple act reduces the cognitive load when you glance at your phone during a meeting or while traveling, as you instantly know which number is active without having to read the fine print of the carrier name.
Beyond the basic labels, explore the options to set a default for calls and messages. You can configure the device to always prompt you before dialing, or you can set a strict rule where outgoing calls default to the personal line unless you manually change it. This flexibility is invaluable for professionals who must maintain a boundary between work and leisure. Additionally, some smartphones allow you to hide one line entirely from the lock screen or status bar if you only need one active at a given moment, providing a cleaner interface when you are focused on a single task.
Manage Incoming Calls and Texts Seamlessly
One of the primary reasons for adopting dual profiles is the ability to screen incoming communications without switching physical cards. Most modern operating systems display the originating number on the incoming call screen, allowing you to decide whether to answer or silence the call based on the displayed label. If you receive a work call while your personal line is the default for data, the phone will still ring, but the caller ID will indicate which number is being contacted. This feature eliminates the guesswork and helps you maintain professional etiquette even when you are away from your desk.
Text message handling follows a similar pattern. Messages arrive with a clear identifier of the sender’s line, and you can reply from either profile depending on the context. Some devices offer the ability to set auto-replies or do-not-disturb schedules per line, which is particularly useful for setting boundaries after work hours. Experiment with these settings to find a balance that respects your personal time while ensuring you remain reachable for urgent matters. The goal is to create a system where the technology serves your schedule, rather than dictating it.
Troubleshoot Common Activation and Switching Issues
Despite the streamlined process, users occasionally encounter hiccups such as “SIM not provisioned” messages or an inability to switch between lines mid-call. These issues often stem from carrier-side delays in activating the digital profile or outdated carrier settings on the device. If a profile fails to activate after scanning the QR code, try restarting the phone, which forces a re-handshake with the carrier’s registration servers. Additionally, checking for a system software update can resolve compatibility bugs that prevent the eSIM from being recognized.
Another frequent problem involves data connectivity switching when moving between Wi-Fi and cellular networks. If you find that your apps are using the wrong line, revisit the cellular data settings and ensure the correct profile is selected as the default. Some users also report that after a operating system update, the default line resets to the first activated profile. In such cases, simply reselecting your preferred line takes seconds, but noting this pattern can save you from confusion during important trips. Keeping your device’s firmware up to date is the simplest preventive measure against these recurring glitches.
Leverage eSIM Profiles for Travel and Remote Work
The true power of dual eSIM configurations shines when you combine them with travel plans or remote work arrangements. Many frequent flyers opt to keep their home personal line active for essential calls and texts, while installing a local or regional data-only profile to avoid expensive roaming charges. This setup allows you to receive important notifications on your primary number while surfing the web or using navigation apps on the cheaper, data-focused line. The ability to toggle which line provides data means you can preserve your home carrier’s unlimited plan for voice while utilizing a pay-as-you-go data package for streaming and browsing.
For remote workers, the work profile can be configured to handle all professional communications, while the personal profile remains dormant unless needed. This separation is invaluable when operating across time zones, as you can set specific quiet hours for the personal line without missing client calls on the work line. Some travelers even purchase short-term data eSIMs from third-party providers to supplement their existing plans, creating a three-profile scenario if their device supports it. The flexibility to add, remove, and switch profiles on the fly makes this technology a cornerstone of modern digital nomadism.

I’m a tech enthusiast who loves exploring how eSIMs simplify staying connected while traveling. I spend my free time testing new smartphones and sharing tips on getting the most out of mobile data abroad.