Data Preparation for eSIM: Ensuring Smooth Digital Transfers
04/09/2026
Switching to an eSIM or transferring your mobile plan between devices sounds simple, but the process hinges on one critical phase that most users overlook: data preparation. Without proper groundwork, even the fastest eSIM activation can stall, leaving you without service when you need it most, whether you’re boarding a flight or starting a remote workday. Data preparation isn’t just about backing up contacts; it involves verifying device compatibility, securing authentication details, and ensuring your carrier supports the digital transfer without hiccups. This guide walks through every step, from pre-checks to post-activation testing, so your eSIM transition happens in minutes, not hours.
Why Data Preparation Matters Before eSIM Activation
Understanding prepaid eSIM plans is crucial when preparing data for eSIMs, as it goes beyond just saving phone numbers to the cloud. The real work lies in confirming that your device, carrier, and personal data are aligned for a flawless digital transfer. For example, not all smartphones support eSIM technology, and even those that do may have region-locked firmware that blocks certain carriers. Before you scan that QR code, you need to verify your device’s IMEI against your carrier’s eSIM compatibility list. Many users skip this step, only to discover their phone can’t read the eSIM profile after payment. Similarly, if you’re switching from a physical SIM, your current plan might have restrictions on digital transfers, especially for prepaid or corporate accounts.
Another often-missed aspect of data preparation is ensuring your authentication credentials are up to date. Carriers typically require a one-time password or biometric verification to authorize an eSIM transfer, but if your registered email or phone number is outdated, you won’t receive the code. This is particularly common among travelers who change SIMs frequently and forget to update their carrier profiles. A quick login to your mobile account dashboard can save hours of troubleshooting later. Lastly, data preparation includes checking your storage space; eSIM profiles, though small, can fail to install if your device is nearly full, especially on older iPhones or budget Android models.
Step 1: Verify Device and Carrier Compatibility
The first action in your data preparation checklist is confirming that your smartphone supports eSIMs and that your carrier offers digital transfers. Most flagship phones from the past three years, like iPhone 12 and later, Samsung Galaxy S22 series, and Google Pixel 6 onwards, include eSIM functionality, but budget models often omit it. Even if your device has the hardware, your carrier might not support eSIM activation for all plans. For instance, some European carriers allow eSIMs only for postpaid contracts, while US providers like T-Mobile require a specific app for setup. Visit your carrier’s website and search for “eSIM compatibility” to find a list of supported devices and plan types.
If you’re traveling internationally, compatibility becomes even more critical. A phone that works with eSIMs in the US might not support the same carriers in Japan or Australia due to differing frequency bands. Before purchasing an eSIM for your trip, check the carrier’s coverage map and ensure your device’s model number matches the supported list. Some travelers make the mistake of buying an eSIM online, only to realize their phone can’t connect to the local network. A quick way to verify is to use your device’s IMEI number, which you can find in Settings or by dialing *#06#. To confirm eSIM eligibility, enter the provided number on the carrier’s website, which is a key step in Activating eSIM for mobile data.
Step 2: Secure and Update Authentication Details
Once you’ve confirmed compatibility, the next phase of data preparation focuses on authentication. Carriers use multiple layers of verification to prevent unauthorized eSIM transfers, so your registered contact details must be current. Log in to your mobile account, either through the carrier’s app or website, and review the email address and phone number listed under your profile. If you’ve recently changed either, update them immediately. Some carriers also require two-factor authentication for eSIM activations, so ensure your authenticator app or SMS backup is set up correctly.
For travelers, this step is especially important if you’re switching to a local eSIM while abroad. Many carriers send a QR code or activation link via email, but if your inbox is tied to a home SIM you no longer have access to, you won’t receive it. A workaround is to use a secondary email address or a cloud-based inbox that doesn’t rely on mobile data. Additionally, some carriers require you to disable your physical SIM temporarily during eSIM activation, so make sure you have access to Wi-Fi or another device to troubleshoot if needed. If you’re using a corporate phone, check with your IT department; some companies enforce policies that block eSIM transfers unless pre-approved.
Step 3: Back Up and Sync Your Data Before Transfer
Data preparation isn’t complete without safeguarding your existing information. Before initiating an eSIM transfer, back up your contacts and data to the cloud to help in avoiding connectivity drops on eSIM phones. For iPhone users, iCloud handles this automatically if enabled, but Android users should verify their Google account sync settings. Pay special attention to apps that store data locally, like WhatsApp or banking apps, which may require manual backups. Some users assume their data will carry over seamlessly, only to lose important conversations or documents when switching devices or SIMs.
When transferring an eSIM between devices, such as moving from an old phone to a new one, it’s important to know how to handle carrier changes with eSIM to ensure a smooth transition. For example, Apple’s iOS 16 and later includes a built-in eSIM transfer feature that migrates your profile wirelessly, but it requires both devices to be signed into the same iCloud account. Android users can use Google’s “Switch to Android” app or their carrier’s proprietary tool, such as Samsung Smart Switch. Always test the backup by restoring a single contact or message to ensure the process works before proceeding with the full transfer. This extra step in data preparation can prevent data loss during the transition.
Step 4: Test Network Connectivity Before Final Activation
After completing the initial data preparation steps, the next critical phase is testing your network connectivity. Before fully committing to the eSIM, activate it in a controlled environment where you have access to Wi-Fi and a backup device. Start by scanning the QR code or entering the activation details provided by your carrier. Once the eSIM profile appears in your device’s settings, enable it and disable your physical SIM temporarily. Check if you can make a call, send a text, and access mobile data. If any of these fail, you may need to troubleshoot the APN settings or contact your carrier for support.
For travelers, this step is non-negotiable. Imagine landing in a foreign country, activating your eSIM, and realizing it doesn’t connect to the local network. To avoid this, test the eSIM a day before your trip while still at home or in a location with stable Wi-Fi. Some eSIM providers offer a “test period” where you can activate the profile for a few minutes to verify connectivity. If the test fails, you can request a replacement or switch to a different carrier before you’re stuck without service. Additionally, check if your device supports dual SIM functionality, which allows you to keep your home SIM active while testing the eSIM. This way, you won’t lose connectivity if the eSIM doesn’t work as expected.
Step 5: Troubleshoot Common eSIM Transfer Issues
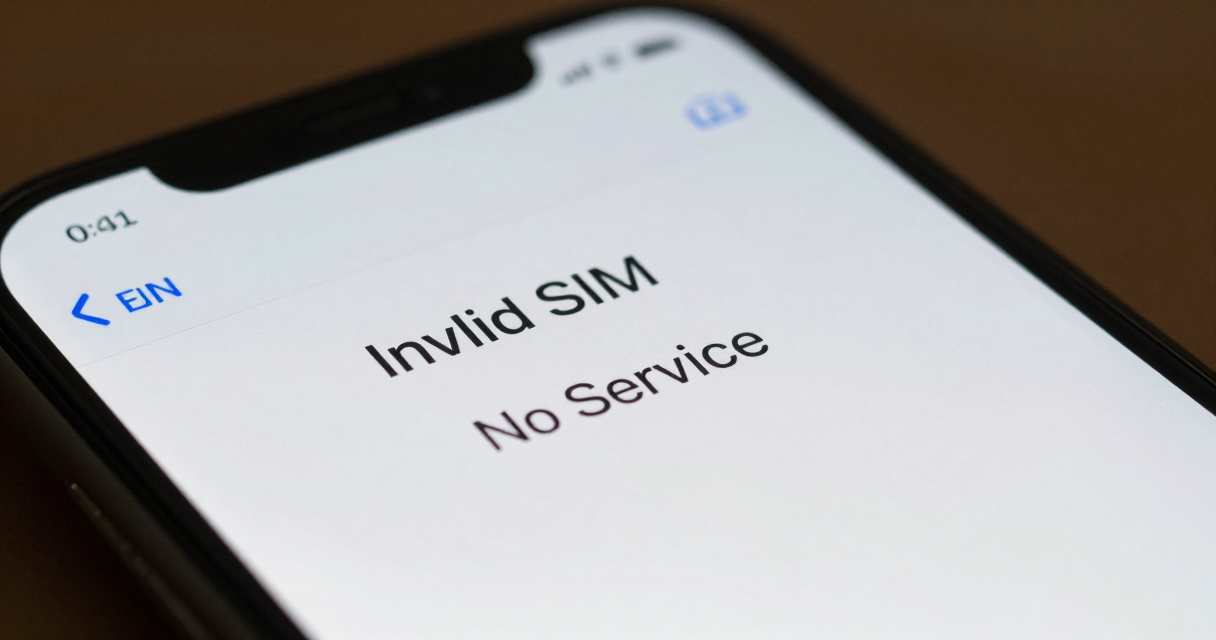
Even with thorough data preparation, eSIM transfers can encounter hiccups. One of the most common issues is the “Invalid SIM” or “No Service” error after activation. This usually happens when the eSIM profile isn’t properly installed or the carrier’s network doesn’t recognize your device. To fix this, restart your phone and re-enable the eSIM in your settings. If the problem persists, delete the eSIM profile and reinstall it using the original QR code or activation link. Some carriers also require you to manually enter APN settings, which you can find on their support page or by contacting customer service.
Another frequent problem is the eSIM failing to activate due to a weak or unstable internet connection. Since eSIM profiles are downloaded over the air, a poor Wi-Fi or mobile data signal can interrupt the process. Always perform the activation in an area with strong connectivity, and avoid using public Wi-Fi networks that may block certain ports. If you’re traveling, consider purchasing a local eSIM with a small data package to ensure you have a reliable connection for the transfer. Additionally, some devices have a limit on the number of eSIM profiles they can store, so if you’ve used multiple eSIMs in the past, you may need to delete old profiles before adding a new one.
Step 6: Optimize Your eSIM Settings for Travel and Daily Use
Once your eSIM is active, the final step in data preparation is optimizing its settings for your needs. If you’re using the eSIM for travel, configure it to prioritize data over calls and texts to avoid unexpected roaming charges. Most smartphones allow you to set a default line for data, calls, and SMS, so designate the eSIM for data and your physical SIM for calls if you’re keeping both. For iPhone users, this is done in Settings under “Cellular” or “Mobile Data,” while Android users can find it under “SIM cards” or “Network & Internet.”
For daily use, consider enabling data roaming only when necessary to prevent accidental charges. Some carriers offer eSIM plans with flexible data packages, so monitor your usage through the carrier’s app or your device’s data tracker. If you’re switching between multiple eSIMs, label each profile clearly in your settings to avoid confusion. For example, name one “Work” and another “Travel” so you can quickly enable the correct one. Lastly, if your device supports dual SIM dual standby, take advantage of it by keeping your home SIM active for calls and the eSIM for data. This setup is ideal for travelers who want to stay reachable on their primary number while using local data.

I’m a tech enthusiast who loves exploring how eSIMs simplify staying connected while traveling. I spend my free time testing new smartphones and sharing tips on getting the most out of mobile data abroad.