
eSIM installation process
30/06/2026
Understanding eSIM Technology
eSIM, which stands for embedded SIM, represents a significant shift in the way mobile connectivity is managed. Unlike traditional SIM cards that require physical insertion into a device, eSIM technology is embedded directly into smartphones and other devices. This digital SIM allows users to activate a cellular plan without the need for a physical card, providing convenience and flexibility for travelers and everyday users alike.
With eSIM, users can store multiple carrier profiles on a single device, making it easy to switch between different mobile plans or carriers. This is particularly useful for international travelers, as they can easily connect to local networks without the hassle of swapping SIM cards. Furthermore, eSIM technology enhances security, as it reduces the risk of losing a physical SIM card and allows for remote provisioning of mobile plans.
Compatibility Requirements for eSIM Installation
Before diving into the installation process, it’s crucial to ensure that your device is compatible with eSIM technology. Most modern smartphones, including recent models from Apple and Android manufacturers, support eSIM. Specifically, models like the iPhone XS, XS Max, XR, and later versions are equipped with this feature.
To confirm compatibility, navigate to your phone’s settings. On iOS devices, go to the Cellular or Network settings and look for an option to ‘Add Cellular Plan’ or ‘Add eSIM’. Android users can check their SIM manager for similar options. Additionally, ensure that your device is unlocked, as locked devices may restrict eSIM usage on certain networks.
Preparing for eSIM Installation
Once you’ve confirmed compatibility, the next step is to prepare for the installation process. A stable internet connection is essential, as the eSIM profile will be downloaded during setup. Connecting to a Wi-Fi network is typically recommended, especially for initial setups. Alternatively, some carriers allow eSIM activation without Wi-Fi, depending on the region.
Technically Money: How To Install & Activate an eSIM On iPhone (2025 Guide)
Gather any necessary information from your carrier, such as a QR code or activation details. Many carriers provide these through their websites or customer service. If you’re planning to use a third-party service like Airalo for international data plans, ensure you have downloaded their app and created an account for easy access to eSIM profiles.
Step-by-Step eSIM Installation on iPhone
Installing an eSIM on an iPhone is a straightforward process. Begin by opening the Settings app and selecting Cellular. Tap ‘Add Cellular Plan’ to start the installation. If you have a QR code from your carrier, select the option to scan it using your iPhone’s camera. The device will automatically recognize the eSIM profile and prompt you to confirm the details.
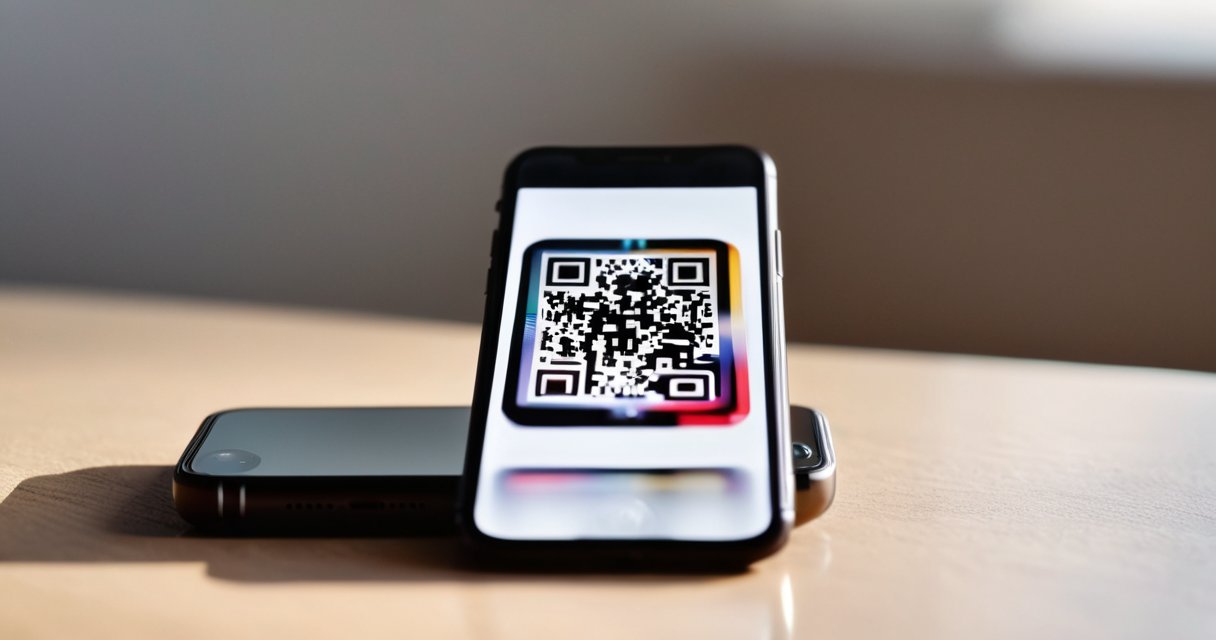
Alternatively, if your carrier provided an activation code or if you’re using an app like Airalo, you can manually enter the details. Follow the on-screen instructions to complete the installation. Once the eSIM is added, you can choose which plan to use as your default for cellular data, calls, and messages.
Step-by-Step eSIM Installation on Android
For Android devices, the eSIM installation process is similarly user-friendly. Access the Settings menu and navigate to the Network & Internet section. Look for the option labeled ‘Mobile Network’ or ‘SIM Cards’ and select ‘Add Mobile Plan’ or ‘Add eSIM’.
Just like on iPhone, you can choose to scan a QR code or enter the details manually. If using a QR code, point your camera at the code provided by your carrier. After scanning, follow the prompts to finalize the installation. Once complete, your Android device will allow you to manage multiple eSIM profiles, ensuring flexibility for work and travel.
Activating Your eSIM Plan
After successfully installing your eSIM, the next step is activation. Most carriers will automatically activate the plan once the eSIM profile is downloaded and installed. However, some may require you to restart your device or connect to the network for activation to take effect.
If you installed an eSIM for international travel, you might want to activate the plan upon arrival at your destination. This prevents any unnecessary roaming charges and allows you to access local data services immediately. Keep in mind that some carriers may have specific activation instructions, so always check with your provider if you encounter any issues.
Troubleshooting Common eSIM Installation Issues
While the eSIM installation process is generally smooth, users may occasionally encounter issues. Common problems include difficulties in scanning the QR code, the eSIM not appearing in settings, or activation failures. If you face these issues, first ensure that your device is updated to the latest software version, as outdated software can cause compatibility issues.
If the QR code does not scan, double-check that you are in a well-lit area and that the code is not damaged. For activation failures, confirm with your carrier that the eSIM profile is correctly set up on their end. Restarting the device can often resolve minor glitches, so it is worth trying if you run into obstacles.
Benefits of Using eSIM for Travelers
For frequent travelers, eSIM technology offers numerous advantages that enhance mobile connectivity. One of the most significant benefits is the ease of switching between different carrier profiles without needing to physically change SIM cards. This is especially useful when traveling to multiple countries, as users can quickly connect to local networks for better data rates.
Additionally, eSIMs often provide access to competitive international data plans, allowing users to avoid high roaming charges. Services like Airalo offer a variety of eSIM options tailored for travelers, enabling them to stay connected without the hassle of traditional SIM swapping. With the ability to manage multiple plans directly from your device, eSIM technology simplifies the travel experience and ensures you stay connected wherever you go.

I’m a tech enthusiast who loves exploring how eSIMs simplify staying connected while traveling. I spend my free time testing new smartphones and sharing tips on getting the most out of mobile data abroad.