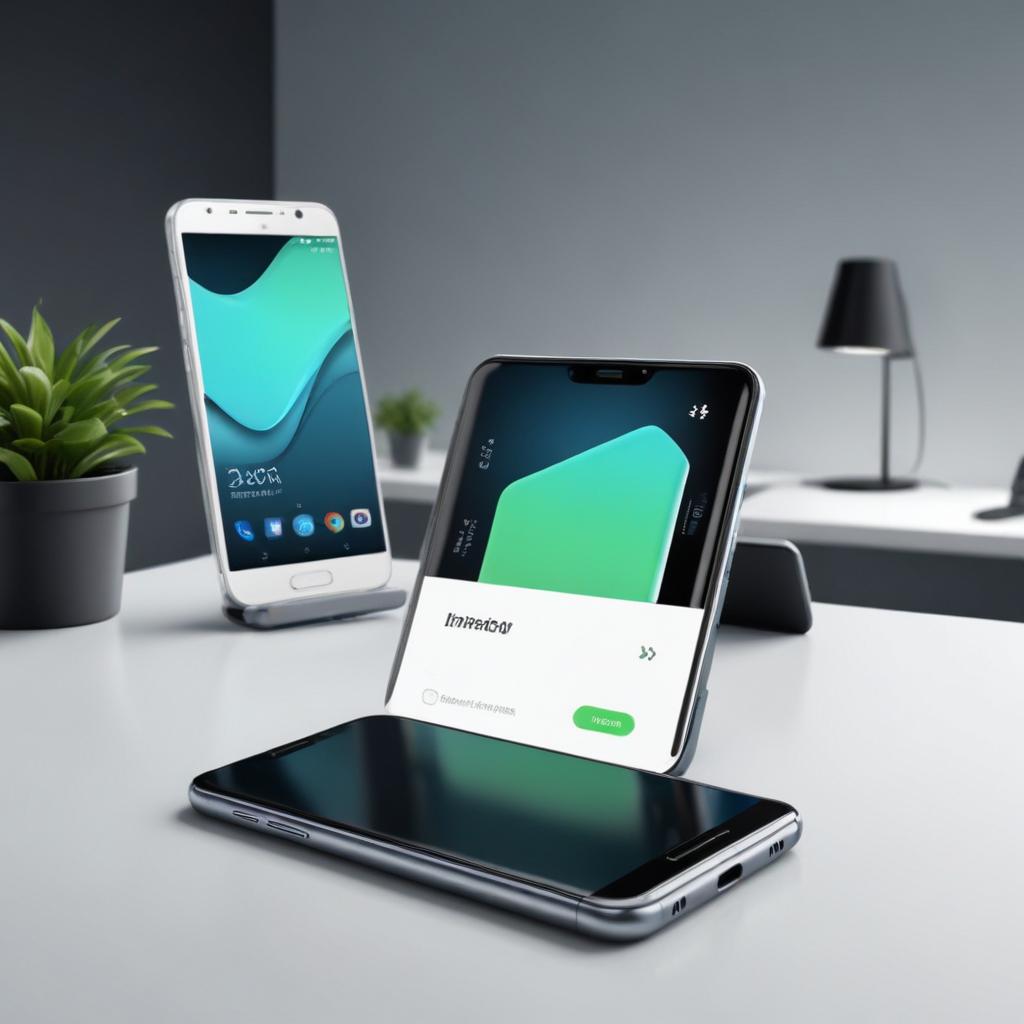
Setting up eSIM on Android
15/03/2026
Introduction to eSIM on Android
eSIM technology, short for embedded SIM, is revolutionizing the way mobile connectivity is managed on Android devices. Unlike traditional physical SIM cards, an eSIM is a digital SIM embedded directly into your device, eliminating the need for a separate card. This innovation brings a new level of convenience and flexibility for Android users, making it easier than ever to switch carriers or plans without exchanging SIM cards.
Introducing eSIM on Android opens up numerous benefits. First and foremost, it simplifies the activation process by allowing users to download their carrier profiles directly to their phones. This means no more waiting for physical SIM cards to arrive or visiting a store. Additionally, eSIM android compatibility enhances device design by freeing up space previously reserved for SIM card trays, enabling sleeker and more water-resistant phones. With eSIM setup benefits including dual-SIM functionality, Android users can maintain multiple phone numbers on the same device, perfect for separating work and personal lines or managing local and international plans when traveling.
The android eSIM basics are straightforward to grasp. Setting up an eSIM typically involves scanning a QR code provided by your carrier or manually entering activation details into your Android phone’s settings. Once the eSIM profile is installed, your device is ready to connect to the mobile network just like it would with a physical SIM. This seamless transition not only reduces hassle but also ensures your phone is always ready for network service without interruption.
Overall, the eSIM setup benefits for Android users provide unmatched convenience, enhanced device design, and increased flexibility in managing mobile connectivity. Whether you’re a frequent traveler or someone looking to simplify your mobile experience, understanding android eSIM basics and the setup process puts you in control of your digital mobility.
Step 4: How to Set Up eSIM on Android Devices
Setting up eSIM on Android is a straightforward process that involves a few key steps. Whether you need to activate eSIM on your Android or install an eSIM plan, this android eSIM guide will walk you through everything you need to do. Make sure your device supports eSIM and that you have either a QR code from your carrier or the details for manual entry before starting.
- Prepare your Android device: Ensure your phone is updated to the latest Android version. Navigate to Settings > Network & Internet > Mobile Network > Advanced > Carrier. Make sure you have stable internet access for the setup process.
- Scan the QR code to add your eSIM: From the Mobile Network settings, tap Add carrier or + Add. Use your phone to scan the QR code provided by your carrier. This will automatically download and install the eSIM profile onto your device.
- Manually enter eSIM details: If you don’t have a QR code, select the option for manual entry. Input the activation code, SM-DP+ address, and other details given by your mobile carrier. This is useful when your carrier provides activation info instead of a QR code.
- Activate your eSIM plan: Once the eSIM profile is added, you will see it listed under Mobile Network settings. Choose the eSIM plan to activate it. You may need to restart your phone for the changes to take effect.
- Manage multiple plans: Many Android phones allow you to add several eSIMs. You can switch between plans or use them simultaneously if your device supports dual SIM functionality. Adjust your preferred data and voice lines within settings.
Following these steps helps you set up eSIM on Android easily, whether activating a new eSIM plan or switching carriers. With the flexibility provided by eSIM technology, managing your mobile connectivity has never been simpler. Remember to keep your device updated and have carrier credentials ready to ensure a smooth setup process.
Checking Device Compatibility
Before setting up an eSIM on your Android device, it is essential to verify whether your device supports this feature. Not all Android phones have android eSIM compatibility, so checking your device’s specifications is a crucial step. Most recent models from popular brands like Google Pixel, Samsung, and Motorola offer device eSIM support, but it’s best to confirm for your specific model.
To check compatibility, start by visiting the official website of your device manufacturer. They typically provide a list of compatible devices that support eSIM technology. Additionally, you can look into the system settings on your phone. Navigate to the “Network & Internet” or “Connections” section, and search for ‘SIM cards’ or ‘Mobile Network.’ If your device supports eSIM, you will usually find an option to add or manage an eSIM profile.
You may also consult your carrier’s website or customer service for a list of supported devices. Mobile carriers often maintain updated databases of android eSIM compatibility, including the latest compatible devices. This ensures that your phone can not only support eSIM but also work seamlessly with their network services.
In summary, verifying device eSIM support involves checking your device manufacturer’s documentation, exploring your phone’s network settings, and consulting your mobile carrier. By confirming android eSIM compatibility early, you can avoid any setup issues and enjoy the benefits of digital SIM technology with confidence.
Activating Your eSIM Plan
Activating your eSIM plan on Android is a straightforward process but requires certain carrier specifications to be met. First, ensure that your mobile carrier supports eSIM technology and offers eSIM plans compatible with your device. Not all carriers have embraced eSIM, so checking carrier requirements early helps avoid activation issues.
To begin activating eSIM on Android, you will typically receive an activation QR code from your carrier. This QR code contains all necessary eSIM activation details. Open your Android phone’s Settings app, then navigate to “Network & Internet” and select “Mobile Network.” From here, locate the option to add a new mobile plan or eSIM. Use your phone’s camera to scan the activation QR code provided by your carrier.
Once scanned, your device will automatically populate the profile with all relevant details to facilitate eSIM activation. Follow any on-screen prompts to complete the activation process. In some cases, manual entry of activation codes, such as an SM-DP+ address and activation code, may be required instead of or in addition to QR code scanning.
After activation, confirm that your mobile plan eSIM is active by checking network connectivity. You can manage and switch between your physical SIM and eSIM profiles in your device settings. Remember, successful eSIM activation on Android relies heavily on carrier support and correct entry of activation details, so keeping these factors in mind will provide a seamless experience.
Troubleshooting Common Setup Issues
Setting up an eSIM on Android devices can sometimes lead to common eSIM errors that frustrate users. One of the typical problems is the failure to activate the eSIM due to network issues or incorrect QR code scanning. To fix eSIM setup problems like activation errors, ensure your device has a stable internet connection and double-check the QR code provided by your carrier. Sometimes, wiping the eSIM profile and trying to add it again can resolve the issue.
Another frequent issue is the “Profile Download Failed” message, which usually happens due to carrier server problems or outdated software. To troubleshoot this, verify that your Android OS is updated to the latest version, as software updates often fix compatibility issues related to eSIM android troubleshoot. If the problem persists, contact your carrier to confirm that your eSIM plan is correctly provisioned.
Also, some users encounter problems when switching between physical SIM and eSIM or when managing multiple eSIM profiles. To avoid conflicts, ensure that only one eSIM profile is active at a time and that you manage profiles correctly through the device’s settings. If your device frequently drops the eSIM connection, resetting network settings can help fix eSIM setup problems by refreshing all connectivity configurations.
In summary, addressing common eSIM errors involves checking network connections, verifying QR codes, keeping software updated, and managing eSIM profiles with care. These troubleshooting tips should help you overcome typical eSIM setup issues and enjoy seamless mobile connectivity on your Android device.
Managing and Switching eSIM Profiles
Managing multiple eSIM profiles on your Android device offers a convenient way to stay connected with different mobile networks without needing physical SIM cards. Android’s built-in eSIM profile management system allows you to effortlessly add, store, and switch between several eSIM profiles, making it easier to separate work and personal numbers or use local carriers when traveling internationally.
To manage eSIM on Android effectively, start by accessing the “Mobile Network” or “SIM Cards” section in your device’s Settings. Here, you can view all active and stored eSIM profiles. Adding a new eSIM profile is typically done by scanning a QR code provided by your carrier or by entering activation details manually. Once multiple profiles are installed, the device will hold all the profiles securely and allow you to toggle between them as needed.
Switching eSIM profiles on Android is straightforward. Navigate to the network settings where both physical SIM and eSIM profiles are listed. You can select the active eSIM profile you wish to use for calls, messages, and data. Most Android devices allow you to assign specific profiles to handle mobile data separately from voice and SMS, giving you fine control over your connectivity preferences. This feature is especially useful when dealing with different data plans or roaming requirements.
For eSIM profile management, Android also usually provides options to rename profiles, set default lines for calls and data, and disable or delete eSIM profiles you no longer need. Disabling unused profiles rather than deleting them can save you from repeatedly reinstalling them if you want to switch back in the future. Always check your device’s user manual or carrier instructions for specific details, as eSIM profile management interfaces may vary slightly across manufacturers and Android versions.
Overall, mastering how to manage eSIM android capabilities and switch eSIM profiles enhances your mobile flexibility. It allows you to tailor your phone’s connectivity dynamically without physical SIM swap hassles, supporting multiple numbers and carriers on one device. Whether for business, travel, or personal convenience, Android’s eSIM profile management ensures you stay seamlessly connected anytime, anywhere.
Adding and Deleting eSIM Profiles
Managing your eSIM profile setup on an Android smartphone is straightforward. Whether you want to add a new eSIM profile or delete an existing one, follow these steps to ensure smooth operation of your digital SIM.
- Open the Settings app on your Android device and navigate to the “Network & Internet” section.
- Select “Mobile Network,” then tap on “Advanced” or “Carrier” settings, depending on your device model.
- To add an eSIM profile, look for the option labeled “Add carrier,” “Add eSIM,” or “Add mobile plan.” Tap it to begin the process.
- Scan the QR code provided by your carrier or enter the activation code manually to download the new eSIM profile to your device.
- After the profile is downloaded, follow the on-screen prompts to complete the eSIM profile setup, including naming the profile if desired.
- To delete an eSIM profile on Android, go back to the “Mobile Network” settings and select the eSIM profile you wish to remove.
- Tap on the profile, then select the option to “Remove,” “Delete,” or “Forget” the eSIM profile.
- Confirm your choice, and the profile will be erased from your device, freeing up space for new profiles if needed.
- Remember, deleting an eSIM profile will deactivate the associated mobile plan, so ensure you no longer need the service before removal.
- Once completed, your Android device will be ready with the updated eSIM profiles according to your preferences.
I’m a tech enthusiast who loves exploring how eSIMs simplify staying connected while traveling. I spend my free time testing new smartphones and sharing tips on getting the most out of mobile data abroad.